
Managing Webhooks
Creating a Webhook
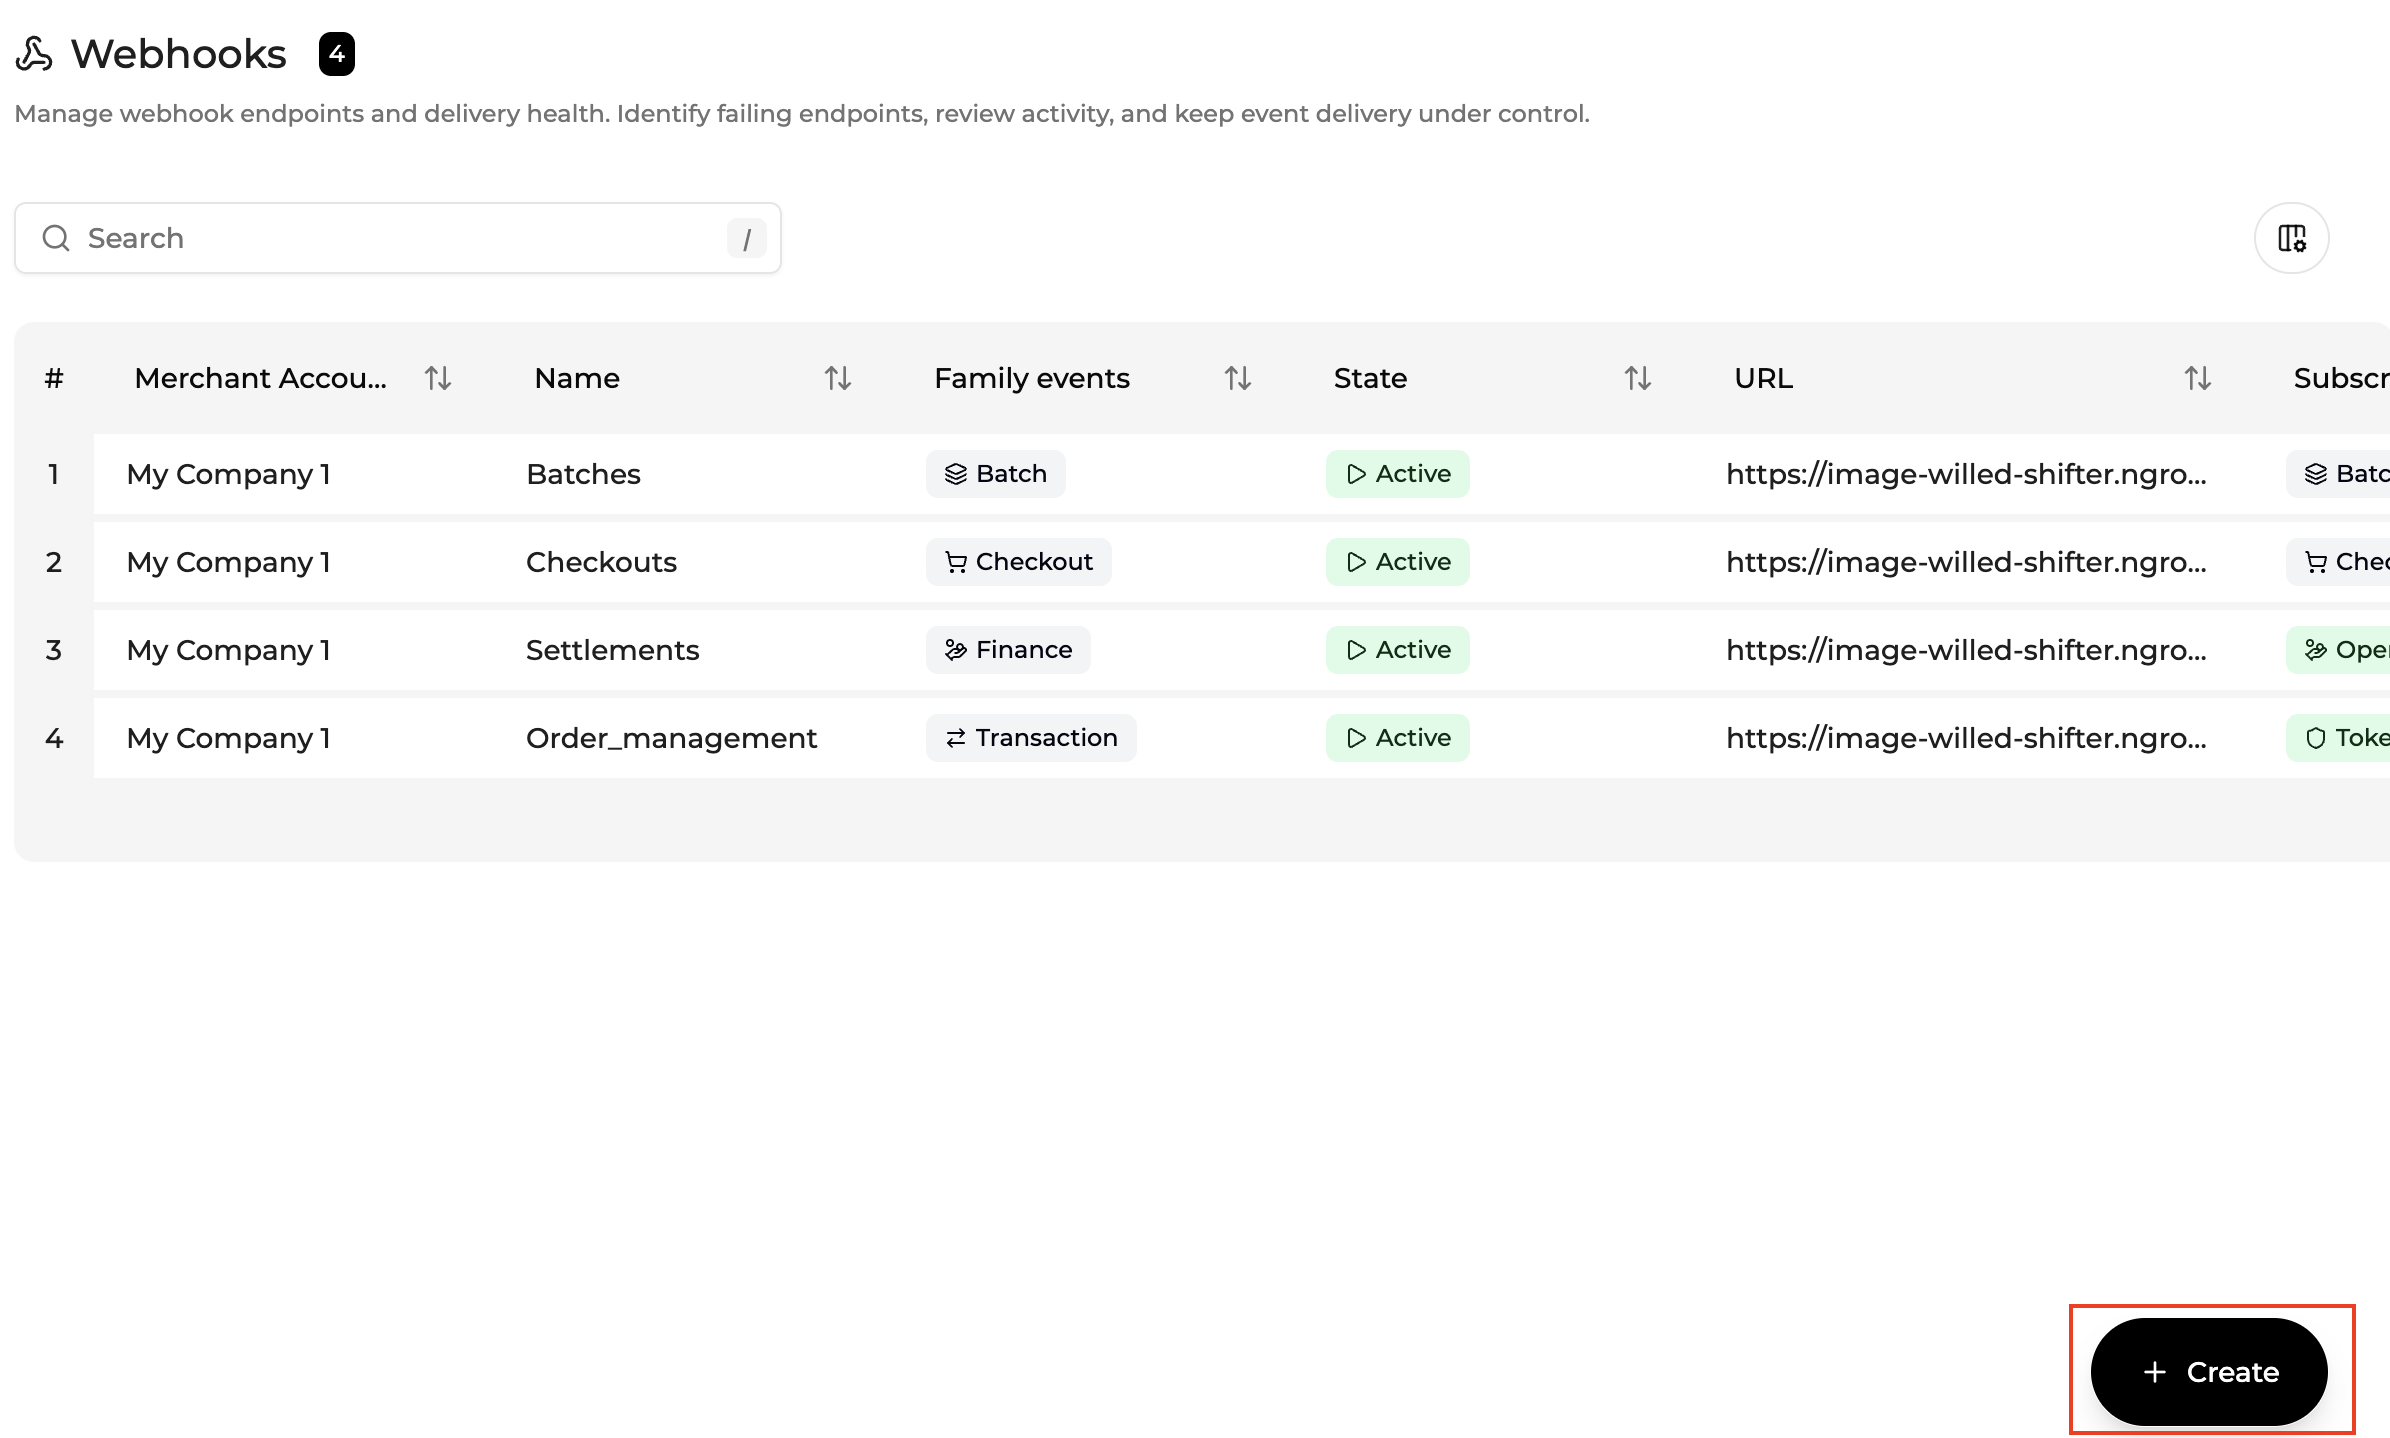
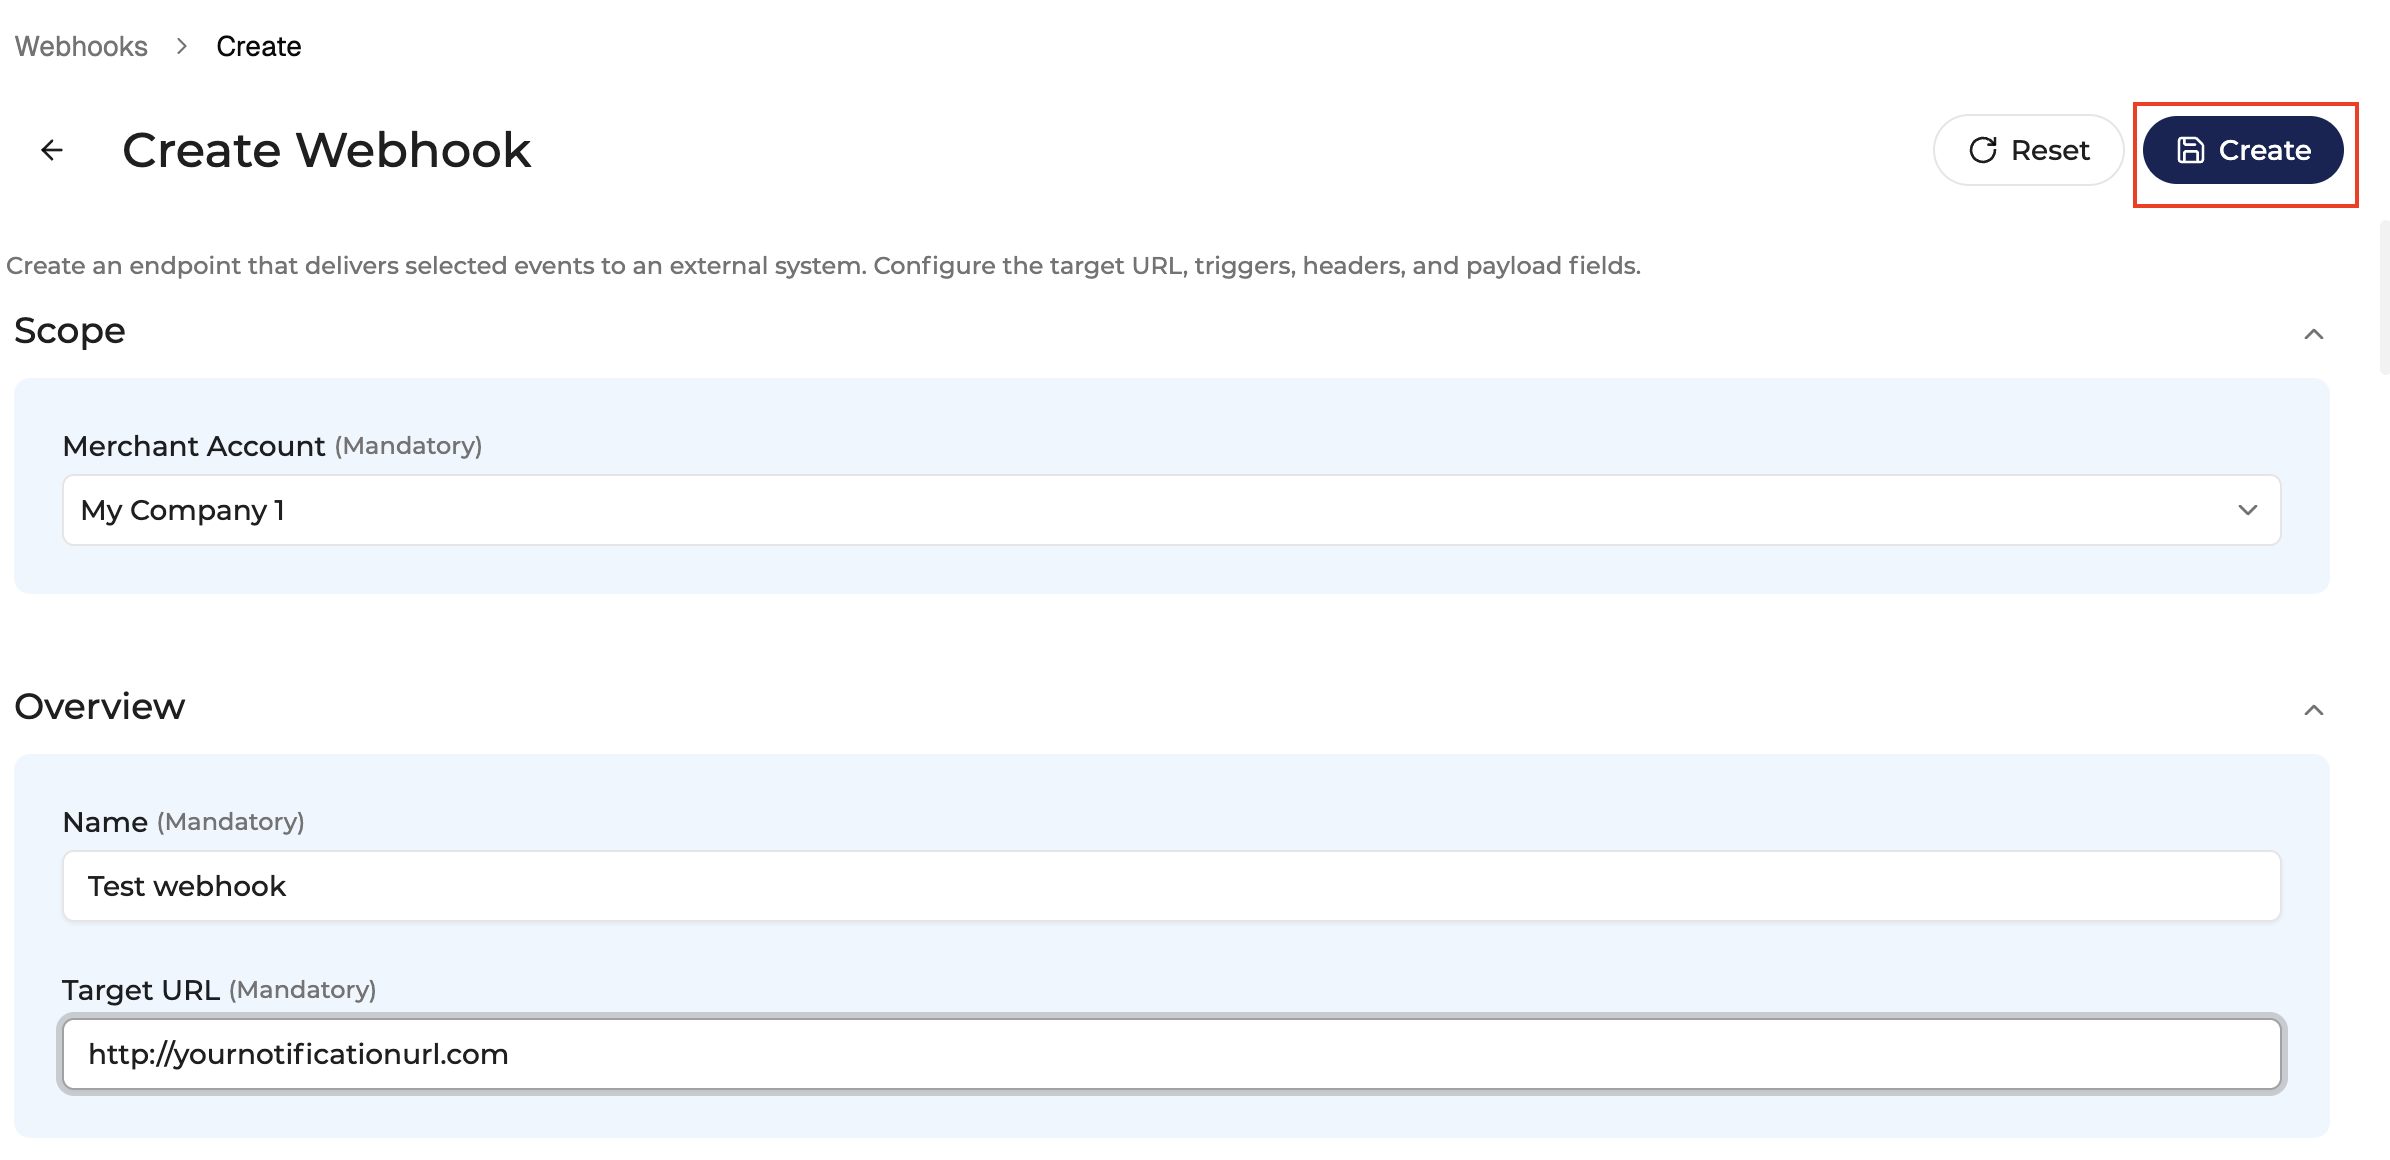
To create a webhook :
- Navigate to Merchants → Webhooks
- Click on "+ Create" button
- Enter the webhook name
- Enter the target URL
- Select at least one trigger
- Configure headers if needed
- Configure payload fields if needed
- Click on "Create" button
During creation, the user defines the main configuration of the endpoint.
Required configuration
The following fields are required :
| Column | Description |
|---|---|
| Name | Display name used to identify the webhook in the Console. |
| Target URL | External endpoint where notifications are sent. |
| Triggers | Events or statuses that trigger webhook delivery. At least one trigger must be selected. |
Optional configuration
The following configuration can also be completed during creation:
| Column | Description |
|---|---|
| Custom headers | Additional HTTP headers sent with webhook requests. |
| Description | Optional text describing the purpose of the webhook endpoint. |
| Signature algorithm | Cryptographic algorithm used to sign webhook requests. The receiving system must use the same algorithm to verify incoming requests. |
| Payload configuration | Selection of payload fields included in webhook deliveries. Payload configuration may use Transaction, Checkout, and Batch tabs inside the Payload configurator. |
Once the webhook is created, the user is redirected to the webhook detail page.
Trigger event families
Webhook triggers are grouped by event family.

The current version supports three event families:
- Transaction: Track payment execution and lifecycle changes.
- Checkout: Track checkout sessions and payment progression.
- Batch: Track transaction batch processing and batch-level outcomes.
A webhook does not have a separate Webhook Type field.
The event families covered by a webhook are determined automatically by the selected triggers.
Example :
- If only Transaction triggers are selected, the webhook receives Transaction events.
- If Transaction and Checkout triggers are selected, the webhook receives Transaction and Checkout events.
- If triggers are selected across all families, the webhook can receive Transaction, Checkout, and Batch events.
Editing a Webhook

Click Edit to enter edit mode. In edit mode, users with the required permissions can update the webhook configuration. The edit page is organized into sections:
| Column | Description |
|---|---|
| Overview | Update the webhook name, target URL, and description |
| Custom headers | Configure HTTP headers sent with webhook requests. |
| Signature algorithm | Select the cryptographic algorithm used to sign webhook requests. Available algorithms: MD5, SHA-1, SHA-256, SHA-384, SHA-512. |
| Secret key | Review how incoming webhook requests can be verified using the Merchant Account Secret Key. |
| Trigger configuration | Select which triggers generate webhook deliveries. Triggers are grouped by Transaction, Checkout, and Batch. |
| Payload configurator | Configure payload fields. The configurator may include Transaction, Checkout, and Batch tabs inside the component. |
| Additional settings | Review options displayed only when relevant triggers are selected. |
Editable elements may include:
- webhook name
- target URL
- description
- signature algorithm
- custom headers
- selected triggers
- payload configuration by event family
Changes are staged locally.
No modification is applied until Save is clicked.
Saving changes

Click Save to apply pending modifications.
Once saved, the updated configuration becomes the reference configuration for future webhook deliveries.
Resetting changes

Click Reset to discard unsaved modifications.
Reset restores the webhook configuration to its last saved state.
Unsaved changes
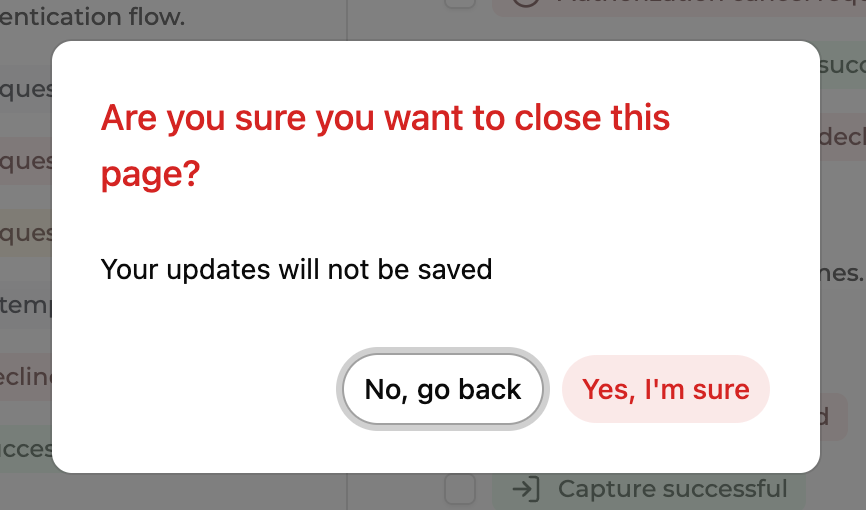
If a user attempts to leave the page with unsaved changes, the Console displays a confirmation modal.
Message: Are you sure you want to close this page? Your updates will not be saved.
Available actions:
- No, go back: Returns to the page so the user can Save or Reset.
- Yes, I’m sure: Leaves the page and discards pending changes.
Configuring headers
Headers can be configured directly from the webhook edit page.
Headers are additional HTTP values sent with each webhook request.
They are often required by receiving systems to identify the source of the request, route it internally, or apply integration-specific processing rules.
Each header is defined by:
| Field | Description |
|---|---|
| Header key | Name of the HTTP header |
| Header value | Value sent with the header |
Adding a header
To add a header:
- Go to the webhook edit page.
- Open the Custom headers section.
- Enter a header key.
- Enter the corresponding header value.
- Click Add header if another header is required.
- Click Save to apply the configuration.
Header changes are staged locally.
They are not applied until Save is clicked.
Removing a header
To remove a header, click the delete icon next to the header row.
The header is removed from the local configuration.
The change is only applied after clicking Save.
Header usage
Headers should match the requirements of the receiving system.
Examples of common usage include:
- identifying the webhook source
- routing the request inside an internal system
- applying environment-specific processing
- supporting integration-specific rules
Before activating a webhook, make sure that required headers are correctly configured.
Incorrect or missing headers may prevent the receiving system from processing webhook requests correctly.
Configuring Triggers
The Trigger configuration section lets users select which events generate webhook deliveries.
Triggers are grouped by event family:
- Transactions
- Checkout
- Batch
Users can select individual triggers, all triggers in a category, all triggers in an event family, or all triggers across all event families.
At least one trigger must be selected before saving.
Selecting triggers determines which event families the webhook receives.
Configuring Payloads
Webhook payloads can be configured from the webhook edit page.
The payload configuration defines which fields are included in webhook deliveries.
Available fields depend on the selected Payload configurator tab. Mandatory fields are locked and cannot be removed.
Optional fields can be selected or unselected depending on what the receiving system needs. The Payload configurator may also include internal tabs for:
- Transaction
- Checkout
- Batch
These tabs exist only inside the Payload configurator. They do not represent separate webhook pages or separate webhook types.
Use these tabs to configure the payload fields for each event family when relevant.
Field selector
The Field selector lists the fields available for the selected event family.
Fields can have different behaviors:
| Field behavior | Description |
|---|---|
| Mandatory field | Required by the payload structure. It is locked and always included. |
| Optional selected field | Included in webhook deliveries. |
| Optional unselected field | Available but not included in webhook deliveries. |
Use the checkboxes to select or unselect optional fields.
Mandatory fields remain visible and locked so users understand what will always be sent.
Preview payload
The Preview payload shows an example JSON payload based on the selected fields.
When several event families are relevant, the preview can be reviewed through Transaction, Checkout, and Batch tabs inside the Sample payload component.
Use these tabs to check the expected structure for each event family before saving the configuration. The preview updates when fields are selected or removed.
Use the preview to check:
- which fields will be sent
- how the payload is structured
- whether the receiving system can process the selected data
- whether unnecessary fields can be removed
Reset
The Reset action restores the payload configuration to the last saved version.
Use Reset when you want to discard unsaved payload changes.
Save as a preset
The Save as a preset action allows the current payload field selection to be saved for reuse.
Presets help teams apply the same payload structure to the same event type configuration.
Payload presets are event-type-specific.
A Transaction preset can only be reused in the Transaction payload configurator. A Checkout preset can only be reused in the Checkout payload configurator. A Batch preset can only be reused in the Batch payload configurator.
Saving payload changes
Payload changes are staged locally.
They are not applied until Save is clicked on the webhook edit page.
Once saved, the updated payload configuration applies to future webhook deliveries.
Testing a Webhook
The Test webhook action sends a synthetic event to the configured endpoint to validate that it is reachable and correctly handles incoming requests. The Test action is available from the webhook edit page when the endpoint is in Published status.
Use Test webhook to verify endpoint reachability, payload parsing, signature verification, and business-side handling — without creating real payment activity.
How to run a test
- Open the webhook edit page.
- Click Test webhook.
- Select one trigger from the list of triggers configured on this endpoint.
- Review the target URL and the delivery IP addresses displayed in the modal.
- Click Send
The modal displays the execution result: HTTP status code, response headers, response body, and a clear Success or Failed verdict.
- A 2xx response indicates the endpoint is reachable and accepted the request.
- A 4xx or 5xx response indicates a client or server error on the receiving side.
- A network error or timeout indicates a connectivity issue.
Delivery IP addresses
The test modal displays the IP addresses used by the platform to deliver webhook requests. Make sure your receiving system allows incoming requests from these addresses before running a test or publishing an endpoint.
Test payload
The test uses the current saved payload configuration of the selected trigger. It does not use live payment data. Test payloads include a mode: test field so the receiving system can identify and handle them separately from production events.
Availability
The Test action is only available when the endpoint status is Published. It is not available for Draft or Unpublished endpoints.
Webhook Lifecycle
Webhook endpoints follow a publication lifecycle.
| Status | Description |
|---|---|
| Draft | The endpoint is configured but not yet live. It does not send notifications. |
| Published | The endpoint is live and delivers events to the configured target URL. |
| Unpublished | The endpoint has been paused. It does not send future notifications but remains available for review, editing, and re-publication. |
| Revoked | The endpoint has been permanently retired. It is no longer usable and cannot be reactivated. |
Available lifecycle actions depend on the current status:
- Draft → Publish, Revoke
- Published → Unpublish
- Unpublished → Publish, Revoke
Publishing a Webhook
Publish makes a webhook live.
The Publish action is available from the webhook edit page when the endpoint is in Draft or Unpublished status.
Before publishing, review:
- target URL
- selected triggers
- headers
- payload configuration
- signature algorithm
If the configuration has unsaved changes, Save must be clicked before publishing. This prevents the publication from applying to an unsaved configuration.
Publication requires a successful test. During the publication flow, the user selects one trigger to test. A successful HTTP 2xx response is required before the webhook can be published. If the test fails, the endpoint remains in its current state.
Unpublishing a Webhook

Unpublish stops future deliveries for the webhook endpoint.
The webhook remains visible in the Console and can be reviewed, edited, and re-published at any time. A new publication test will be required when re-publishing.
Unpublication requires explicit confirmation: type UNPUBLISH to confirm.
Use Unpublish when:
- the receiving system is temporarily unavailable
- the endpoint needs to be reconfigured before going live again
- the configuration must be reviewed
Revoking a Webhook
Revoke permanently retires the webhook endpoint.
The Revoke action is available from the edit page regardless of the current status (Draft, Published, or Unpublished).
Revocation is irreversible. A revoked endpoint cannot be reactivated. It remains visible in the Console in read-only mode.
Revocation requires explicit confirmation.
Confirmation dialogs
Sensitive lifecycle actions use confirmation dialogs to prevent accidental changes.
This applies to actions such as:
- Publish
- Unpublish
- Revoke
Confirmation dialogs explain the expected impact before the user confirms the action.
For destructive actions, the user may be required to type a confirmation value before the action button becomes available.
Best practises
Use clear webhook names
Use names that describe the purpose of the endpoint.
Examples:
- Order status updates
- Checkout notifications
- Reconciliation webhook
- OMS transaction updates
Avoid generic names such as:
- Test
- Webjook 1
- New endpoint
Clear names make webhooks easier to identify in tables, logs and support investigations.
Use one endpoint per integration purpose
A single endpoint can receive events from several trigger families, but it is still best to keep endpoints organized by integration purpose.
Avoid sending unrelated events to the same endpoint when different systems process different workflows.
Example :
- one webhook for order management
- one webhook for reconciliation
- one webhook for monitoring
This makes troubleshooting easier and reduces the risk of breaking multiple workflows at once.
Keep payloads focused
Select only the payload fields required by the receiving system.
Focused payloads are easier to process and reduce unnecessary data exposure.
Review headers before activation
Make sure required headers are correctly configured before activating the webhook.
Incorrect or missing headers may prevent the receiving system from processing notifications correctly.
Deactivate before replacing an endpoint
If a target URL changes, review the configuration carefully.
When replacing an endpoint, deactivate the old webhook if it should no longer receive notifications.
Review configuration before saving
Before clicking Save, review:
- target URL
- selected triggers
- custom headers
- payload fields
- additional settings such as Notify last transaction only
Saved changes affect future webhook deliveries.
Updated about 1 month ago