Payplug
This guide will walk you through the process of integrating Payplug with NORBr.

Step 1: Contract Signature
Sign a contract with Payplug and get access to their back office
Step 2: Collect your credentials
You will receive an email from Payplug with an apiKey, and an identifier. Note them for the following step
Step 3: Setup your Notifications webhook
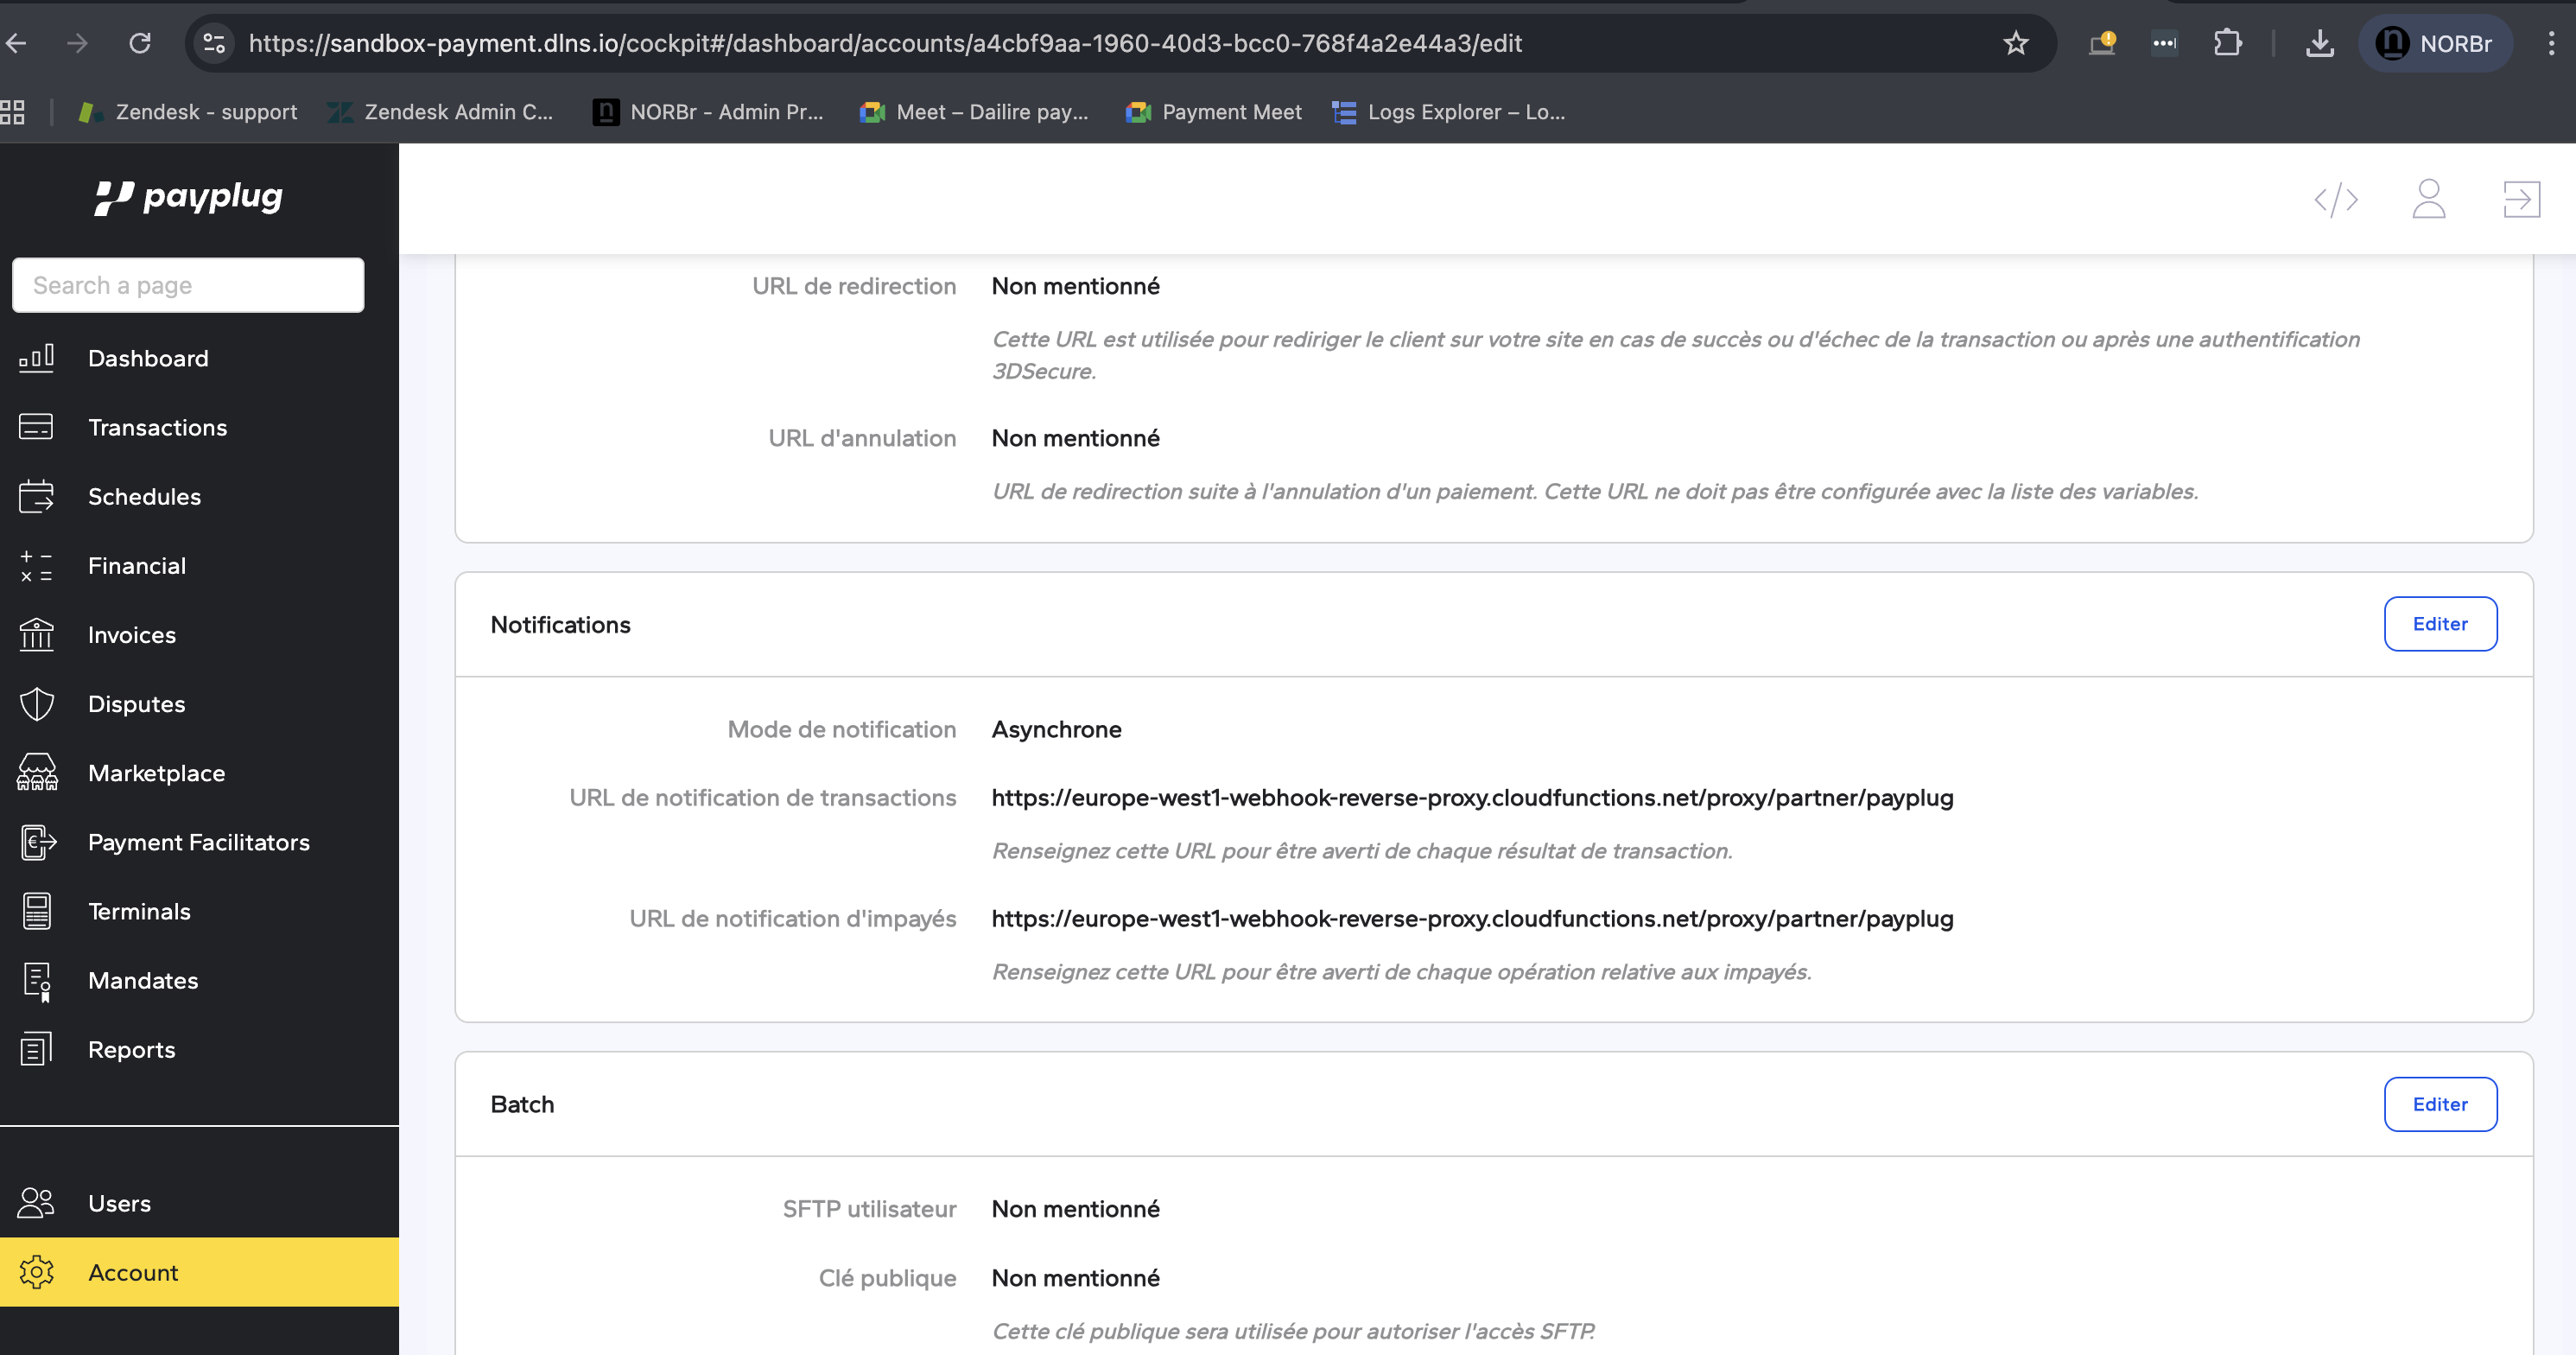
from the left side bar, select Account and scroll down to Notifications section. Press edit
-
Notification Mode: Asynchronys
-
fill in this webhook in both fields:
- For Sandbox: https://webhook-sandbox.norbr.io/partner/payplug
- For production: https://webhook.norbr.io/partner/payplug
Step 4: Add a Merchant Contract to your Payment Network
- Log into your Merchant Account.
- Navigate to: Payment Network → Service Providers → Payment Providers → Add a Partner
- From the drop-down list, select Payplug.
- Give your contract a name for easier identification: eg. PSP name.
- Setup general setting and fill in the credentials you earlier retrieved.
- Merchant Contract ID will populate automatically.
- Settlement currency: select from the drop-down menu. You will only see the available ones.
- Select sales channel.
- Authentication and Risk Assessment: leave without changes.
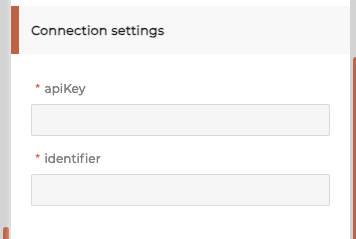
- Connection settings: fill in the credentials you retrieved.
- To activate the contract set the status to active.
Step 5: Activate payment methods
Once you set up the connection by creating the Merchant Contract, you will be able to activate payment methods available for this Partner.
In the settings of your Merchant Contract where you earlier filled in the credentials and put other settings in place, you will see a section Payment Methods with two sub-sections: Active and Available.
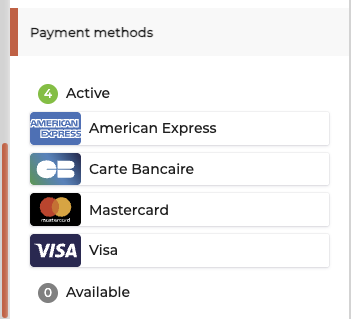
To activate a payment method, simply drag and drop it from Available to Active.
For testing
4242 4242 4242 4242 (successful payment Visa)
5017 6700 0000 1800 (successful payment Mastercard)
you can use any value for cvc any future expiry date.
Updated 8 months ago