Volt
This guide will walk you through the process of integrating Volt with NORBr.

Step 1: Contract signature
Sign a contract with Volt.io, specifying NORBr as your integrator.
Step 2: Account creation
Once your Volt.io account is created and attached to the TSP NORBr, you will gain access to the back office: https://fuzebox.volt.io/
Step 3: Activate your NORBr merchant contract
Here are the necessary steps to activate your NORBr merchant contract:
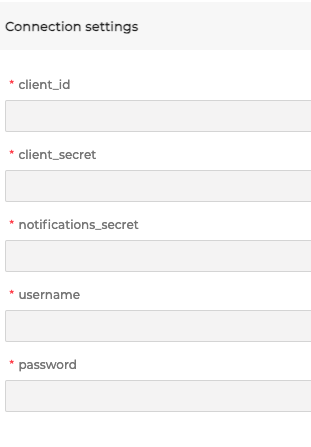
Client ID and client secret
1 - Navigate to Configuration > Applications.
2 - Locate the Client ID.

3 - Locate the Credentials box.

Notifications secret
1 - Navigate to Configuration > Application > Payment Notifications.

2 - Locate the Notification Secret.
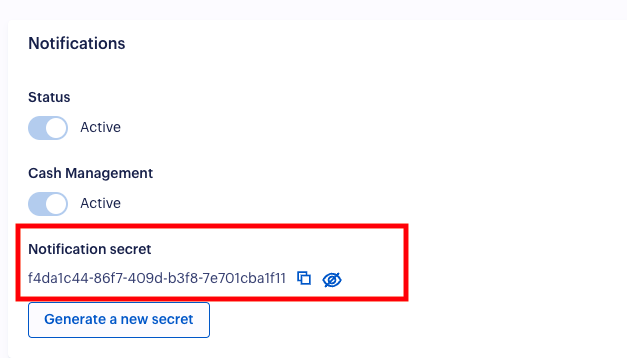
Status and cash management
Ensure that both Status and Cash Management are set to "Active".
Username and password
1 - Navigate to Configuration > Customers.
2 - Locate the Credentials box.
3 - Choose the appropriate information based on the environment you are configuring your merchant contract in.

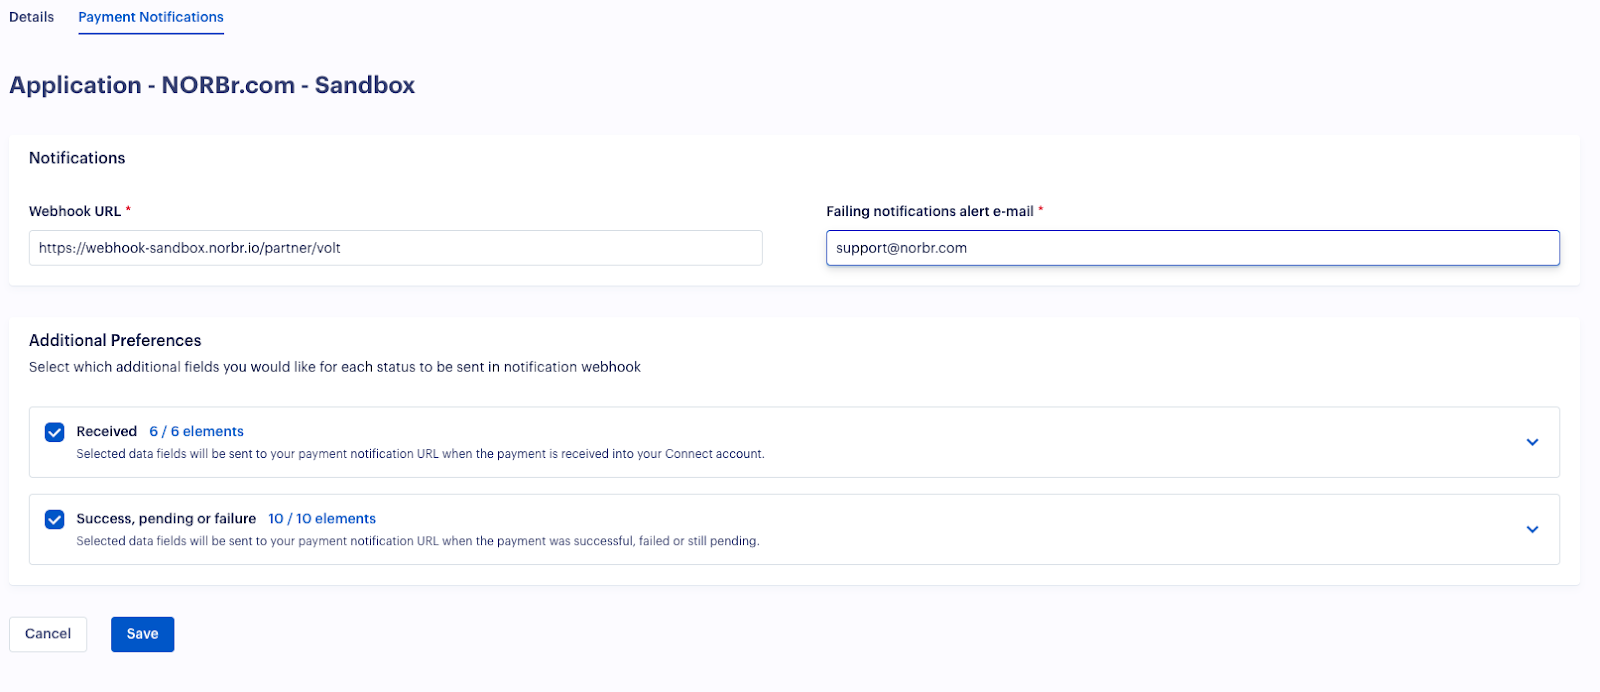
Step 4: Configure webhooks
1 - Navigate to Configuration > Applications > Payment Notifications > Edit.
2 - Add the following webhook URL based on your environment:
- Sandbox: https://webhook-sandbox.norbr.io/partner/volt
- Production: https://webhook.norbr.io/partner/volt
Step 5: Configure Payment returns URLs
- Navigate to Configuration > Applications > YOUR_APPLICATION
- Add the following URL based on your environment:
- Sandbox: https://api-sandbox.norbr.io/partner/volt/redirect
- Production: https://api.norbr.io/partner/volt/redirect

Step 6: Failing notifications alert email
Fill out the box with [email protected] for failing notifications alerts.
For testing
The “COMPLETED” status is supported by the following banks
-
OBIE Mock Bank (EUR & GBP)
-
Volt Mock Bank (EUR & GBP)
-
Bank of Scotland Sandbox (GBP only)
Username: llr001
Password123 -
Modelo Bank (GBP only)
Username: mits
Password: mits
DELAYED_AT_BANK
- OBIE Mock Bank (EUR & GBP)
- Monzo (GBP Only)
Updated 8 months ago